Friday, December 14, 2012

Latest projects

I can't believe it's been so long since my last posting.  I really need to work on that!  Here are two Christmas card designs I have been working on:


The snowman is from a Cricut Imagine cartridge and is popped up on an Action Wobble so he bobbles around.  I used lots of Stickles to outline each snowflake. 
 
 
This was such an easy card to put together. Last year I purchased an  embossing/stamping folder on a whim and I love it!!  First you stamp the image and then you insert it in the coordnating embossing folder, run it through your machine (I use the Cuttlebug) and finidh off with Stickles.  The "Merry Christmas" was cut with my Cricut and is popped up for some dimension.  Super easy and quick!!
 

Monday, October 8, 2012

Winter Frolic Christmas

I know it's barely October, but I wanted to get a jump start on Christmas cards.  I usually have a few different styles, so I needed to get started.  I used good old Winter Frolic cartridge and a new Jolly Holidays paper stack by Recollections.  I just loved the unconventional colors!!  I tried to put him on an Action Wobble, but the reindeer was not "fluffy" enough, so I popped him up.  It's hard to see, but the red bulbs in the background paper are blinged out.  Inking around the edges and lots of Stickles for his bulbs and scarf finished it off. 

Sunday, October 7, 2012

Cricut Who Loves ya??

     A few weeks ago I attended a weekend scrapfest called Circle Mania.  Over 50 "Paper Nerds" scrapped, drank, made cards, ate, learned  new tricks and techniques, shopped and had a great time.  Of course I didn't even begin to work on anything until Sunday morning.  My goal was to complete a chalk board count-down and a matching card.  I was asked to design a chalk board frame with specific Creative Memories papers that included a white scalloped frame, a basic phrase and a few owls.  She wanted it to be minimalistic, so that it could be reproduced later by some younger children.  Let me tell you, it was one of the hardest projects I've had to work on!  I kept wanting to add some bling or ribbons or something to give it some pizazz.  I cheated a bit by chalking the edges, which she liked but decided was too intensive for her students. Sigh.  At least she liked it.  She also sent me the picture of an owl card that she wanted to match the frame.  Here is what I came up with:


I used Elegant Edges, Hoot n Holler and Disney -Pooh Font Set.  I think it's cute as is, but definately needs somebling in each square, some big google-eyes for the owls and a few rhinestones on the words. 
 
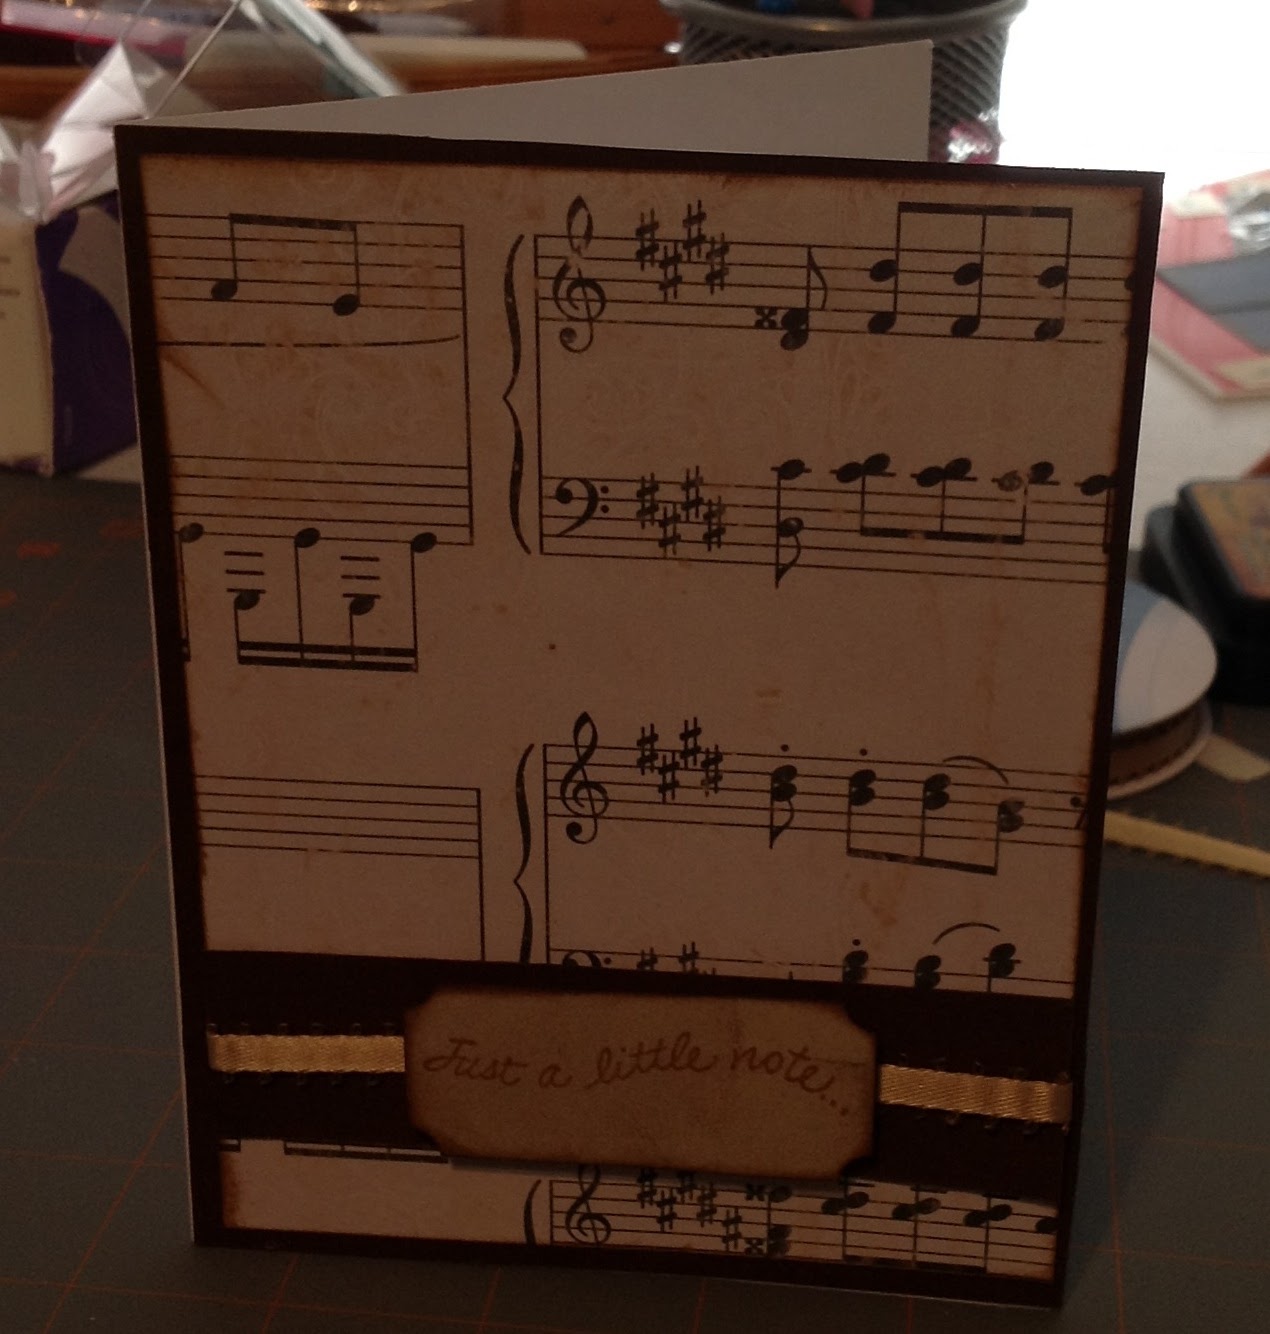
Here is the matching card:


For the card, I used 3 Birds-Straight From the Nest and Hoot n Holler cartridges.  Again, it's ok, but I would love to have added some bling.  

Wednesday, August 15, 2012

Meals on Wheels...for pets too

On Wednesdays, I DRAG my teenaged son with me to deliver meals to seniors in our city who are unable, for one reason or another, to grocery shop/cook for themselves.  For some, the lunch we bring is the only meal they will eat all day.  It's a wonderful program, one which is mutually beneficial to the recipiant and myself and son.  Although he grumbles every week, I know he "gets it" and feels  good about making a difference in someone's life.  I especially love when an older gentleman tells him to take care of his momma because I won't always be there to clean up his messes.  Of course Jacob just smiles and mumbles a "yes sir" and rolls his eyes when I high-five the man. 

Anyway, one of the men on our route has a "vicious" weenie dog that growls and barks at us every week.  I thought he must feel left out so this week I made him his own "Meals On Wheels."  It's a simple dog house treat box that I found in the Tags, Bags, Boxes and More 2 cricut cartridge.  I filled it with little bone treats that match the paper perfectly.  If I had known his name, I would have made a nameplate for the front (I'm pretty sure "Little Shit" is not his official name).   My own 2 dogs were a little put out that I was giving away their treats until I explained, in great detail, that they were taking part in a worthy cause and they should feel proud.  Yeah, that's didn't go over too well and I had to give them a few of the treats.  Here's the box:


Thursday, August 9, 2012

Tricked out Treat Boxes

I was recently asked to teach a Spotted Canary class called, "Tricked out Treat Boxes."  I picked up the instructions today and went right to work.  There are a total of 5 projects that utilizes a few pieces of cardstock, a Die-Cut mat pad and various stickers.  I was very limited in the papers and embellishments, but after the class I can bling them up to my style.  Here is the Treat/Gift bag:


Next is the Slide Cover Box.  I put a wrapper on a few chocolate Nuggat bars and put them inside:


The last project that I took pictures of was the "Halloween Book."  The circle in the center flips aroung and on the back side is a skull sticker. 


There are 2 other projects, a Pyramid Box and a "J-Card" which is a matchbook card on steroids.  I'm still working on those and will post pictures when they are ready.  Hopefully people will like them and sign up for the classes.


Tuesday, July 17, 2012

Just a Note card

I will be attending an event soon and have designed a simple Make-and-Take card.  It's quite simple, but I like how it turned out.  I punched a musical note on the inside to tie it all in together.  I think this is going to be my "go too" card.  I left the inside blank so they can write whatever sentiment they want. 


Saturday, July 14, 2012

Happy Birthday

I am involved in a card swap with a different theme or requirement each month.  The theme for July was anything you want, but you had to use ribbon somewhere on the card.  I thought this was going to be an easy-peasy swap until I remembered that I am severly ribbon-challenged.  Ugh, I can never get my bows to look right even though I have 4 (yes four) different "easy" bow-making contraptions. 

I decided to make a simple birthday card and employed 2 of my bow systems to make a decent bow.  I used tons of glitter on the flames and a few of the candles are on pop-dots to give some dimension.  Of course my bow is defective, but hopefully the glitter distracts you.  lol. 

The candles are all different sizes cut with my Cricut Expression (or was it my E2?) and the background paper was embossed with a birthday Cuttlebug folder that I've never used. 


Side Step Baby Boy

I've been meaning to make a side-step card and I found the cutest design on Pinterest that I had to try.  Who would have thought a simple card could look like a chest-of-drawers?  Too cute, right?  And it was so easy!  What do yall think?


Monday, July 9, 2012

It's 100F so what's with the hot cocoa?

I found a cute 2-packet hot cocoa box and wanted to give it a try.  It's 100F outside, so it's kinda strange to be decorating hot cocoa boxes.  I think the inside pockets still need something...maybe some bling. 


Here is a link for the directions, if you are interested.  Samantha is very talented and has generously shared her tutorials on lots of cute projects.  Make sure to check out her blog and let her know I sent you:

Latest creations

I have been playing around with my Tags, Bags, Boxes and More 2 cartridge and some old, "ugly" paper that i mainly use for test cuts.  I'm surprised that I actually like how this gable box turned out.  It needs a tag or something, but for "ugly" paper, it's not half bad.

Sunday, July 8, 2012

Sympathy Card

I saw the most beautiful card and decided to try to recreate it with a few changes.  Instead of a "good luck" card, I used a stamp set to make it a sympathy card.  I don't have any of these cards in my stash and wanted to make one when I'm not ruled by emotions.  Here is a link to the original:    
      
            http://www.craftjunkietoo.com/2012/07/good-luck-card-using-cricuts-new.html

Here is my version:


Imagine that!!

I FINALLY learned how to use "regular" cartridges in my Cricut Imagine and I've been having a ball playing around!  I grabbed my Tags, Bags Boxes and More cartridge, my Tags, Bags, Boxes and More 2 cartridge and my Berries and Cream Imagine cartridge and made  the cutest milk carton box that will be perfect for Valentine's Day treats.  I also used my new Cricut Glitter pens to write the sentiment in the heart because my handwriting is pure rubbish!! Even though my bow is a little off, I'm happy with how it turned out, especially for a first draft.

Wednesday, June 13, 2012

3D Projects

I have been having such a great time making these 3D projects.  The first one is a teacup from the Cricut Tags, Bags , Boxes and More 2 cart.  There are just so many different ways to use this, I love it.

The next project is from a pattern I purchased.  It's a gift card holder that I made for my husband, but it can be used for any male.  I think it's just adorable!!


Crazy Hubby

My husband, God love him, has lost his mind.  While at the grocery store, he found my favorite cheese.  It's imported from Amsterdam and very hard to find.  When we do find it, we usually get the largest quarter we can find.  Well, my husband outdid himself this time.  Yes, he bought the entire cheese round!!  Twelve pounds of cheese!!  He was very proud of himself, so I couldn't give him too much of a hard time.  He cut it into a few quarters and froze them.  Can you freeze cheese?  I certainly hope so!  So what's twelve pounds of cheese look like?  Funny you should ask, because I took some photos.  I was just speechless!!


Monday, June 4, 2012

Class Projects

I will be teaching a class this month and these are the cards we'll be creating:  a Father's Day shirt shaped card, a general pinwheel card and a birthday waterfall card.  If you're in the Sugar Land area and are interested in taking the class, let me know and I'll send you the details. 


Friday, May 25, 2012

Summer Time Cards

I've been working on a few summer-time cards.  Someone asked me for a card to send their child while away at camp and I came up with a popsicle-shaped card and a S'more roasting porcupine.  I used lots of stickles on the fire to make it look more realistic.


This next set of cards is for Father's Day.  I made two different styles because I was not impressd with the first style. 


Monday, April 30, 2012

A splash of color

My friend Fran's husband is amazing!! He makes all kinds of cool things with wood and I finally askd him to make me an ATG stand.  Usually he stains them, but I wanted to paint mine, so he made it plain.  This past weekend I scored some hot pink paint and had a ball! I painted the stand pink and then decided to paint my Cricut Condo.  It's basically a shelf my hubby made but it sounds much swankier calling it a Condo.  Anyway, I still need to make a vinyl shoe for the ends, but it's great for now.  I love how my craft room is getting some color!!  What do yall think?


Tuesday, April 24, 2012

Summer Banner

If you've read the previous post, you know last week I held a workshop devoted to care package items for college kids.  One of the projects was a "Welcome Home" banner.  I loved how it turned out, but don't have anyone to welcome home, so I made one for myself without the words and some (ok, a lot of) bling.  I added Stickles around the edges of the panels, on most of the images and then added liquid pearls on the sand dollar.  I even added glossy accents to the sunglasses.  Yesterday my favorite panel was the sand dollar, but today I'm liking the turtle the best.  I really like how it turned out and have it proudly hanging on my mantle.  Here are some pictures:


Friday, April 20, 2012

College Care Package Workshop

Oh my, I can't believe it's been over a month since my last posting.  I have just been so busy!  Anyway, today I co-hosted a College Care Package Workshop for 10 ladies.  The projects I presented were a pizza box that held a Pizza Hut gift card from the TBBM cartridge, a wrapper for a bag of microwave popcorn, a wrapper for a king size candy bar, a pencil made from Rollo candy, a powdered drink  pouch that hung over a water bottle, a paper frame for a 4x6 picture and a "welcome home" banner.  I love how everything turned out, especially the banner.  Here are some pictures: